Fall Protection Harnesses 101
Your harness is one of the main things that will help protect you in the event of a fall. Wearing the wrong harness for the job, one that doesn't fit right, or one that has a defect from wear and tear, can not only fail to protect you during a fall, but also be uncomfortable and affect your productivity. Below, you will find information regarding harness basics, how to ensure proper fit, and an inspection checklist so you know your harness is ready and able for the job at hand! Keep reading to grab your FREE printable fall protection inspection checklist!
Back to the Basics!
- Dorsal (back) D-ring is the only fall arrest connection point. Make sure you do not connect to side D-rings or lanyard keepers.
- With tongue buckle adjustors, use of a center grommet is ideal for best fit.
- Worker in a body harness shall not be exposed to a maximum arresting force in excess of 1,800 lbs.
It's All in the Fit!
- Too loose: When harnesses are too loose, these can present a choking hazard and during the event of a fall, by not provide proper protection.
- Too tight: When harnesses are too tight, they can not only be uncomfortable and limit mobility, but they can also cause injury such as muscle strains or pinched nerves.
- Do not alter your harness in any way to try and make it fit, as this will compromise it's effectiveness in protecting in the event of a fall. If a harness doesn't fit, look for a different size that works for you!
- Follow the steps below with a correctly sized harness to ensure a comfortable, effective, and correct fit!
Step 1
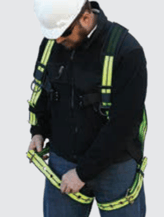
- Pull leg straps between legs and connect to opposite ends.
- For a belted harness, connect waist strap next.
- Use two buckles at base of shoulder straps to adjust shoulder straps. Position extra seat strap below seat of pants.
Step 2
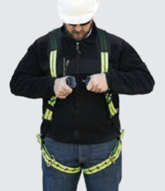
- Fasten chest strap across chest.
- Chest strap should be comfortably snug and NOT be close to user’s neck, as strap may contact neck if back D-ring slides up during a fall.
Step 3
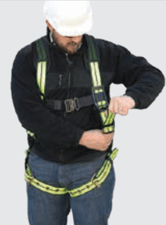
- After all straps are buckled, tighten all buckles so that harness fits snug and allows full range of movement.
- Pass excess strap through strap keepers.
Inspect or Reject!
- Harnesses need to be inspected before each use, and annually by a competent person (someone who’s had training and capable of identifying hazards).
- Grasp the webbing with your hands and bend in order to create surface tension – this makes damage easier to see than with just a quick visual inspection.
- Follow the defect checklist below before using your harness to make sure it's safe!
Webbing
- Excessive hardness or brittleness
- Missing straps
- Broken fibers/cracks
- Overall deterioration
- Hard or shiny spots
- Mildew
- Modifications by user
- Discoloration of material (depending on cause)
- Cuts, nicks, or tears
- Fraying/abrasions
- Burnt, charred, or melted fibers
Labeling
- Check labels
- If labeling is missing or illegible, remove harness from service and discard
Hardware
- Distortion (twists/bends)
- Rust of corrosion
- Broken/distorted grommets
- Modification by user (i.e. additional holes)
- Tongue buckle, mating buckle, and quick-connect should all function properly
- All adjuster springs must be in working condition
Stitching
- Pulled stiches
- Stitching that is missing
- Fall indicators
- Hard or shiny spots
- Cut stitches
- Discoloration of stitching
Want a handy printable inspection checklist that walks you through all your fall protection items?
Grab your FREE one-page inspection checklist here!
Make sure you have the harness you need to get the job done effectively, comfortably, and safely! Shop Safewaze today!